Painted Shower Tile
If you've ever wanted to give your shower a simple makeover, this DIY tutorial is for you! We decided to paint the tile in our downstairs bathroom and are so excited about the turnout!
WHAT YOU'LL NEED:
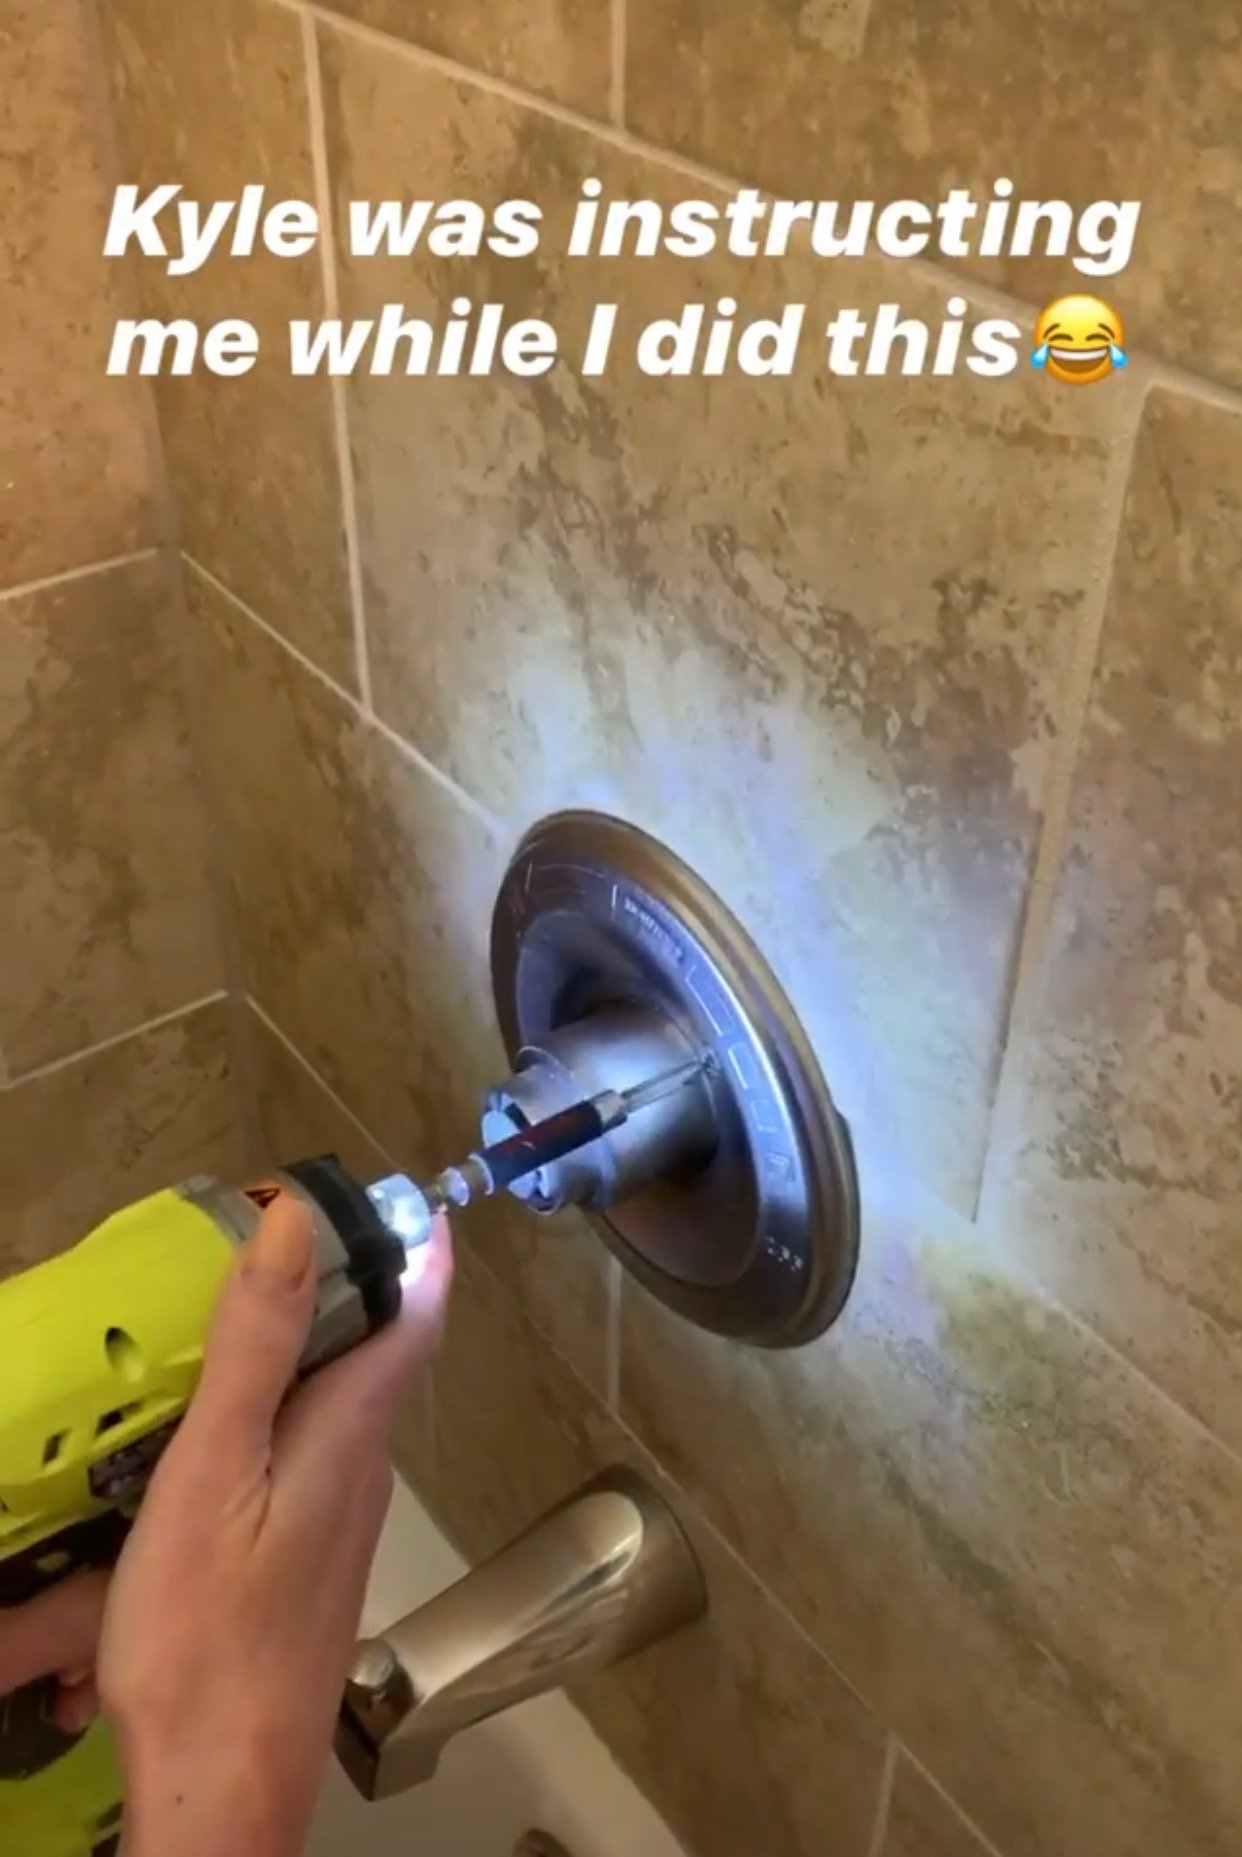
A drill to remove the plumbing fixtures
Tub & Tile Refinishing Kit - Epoxy Acrylic Formula
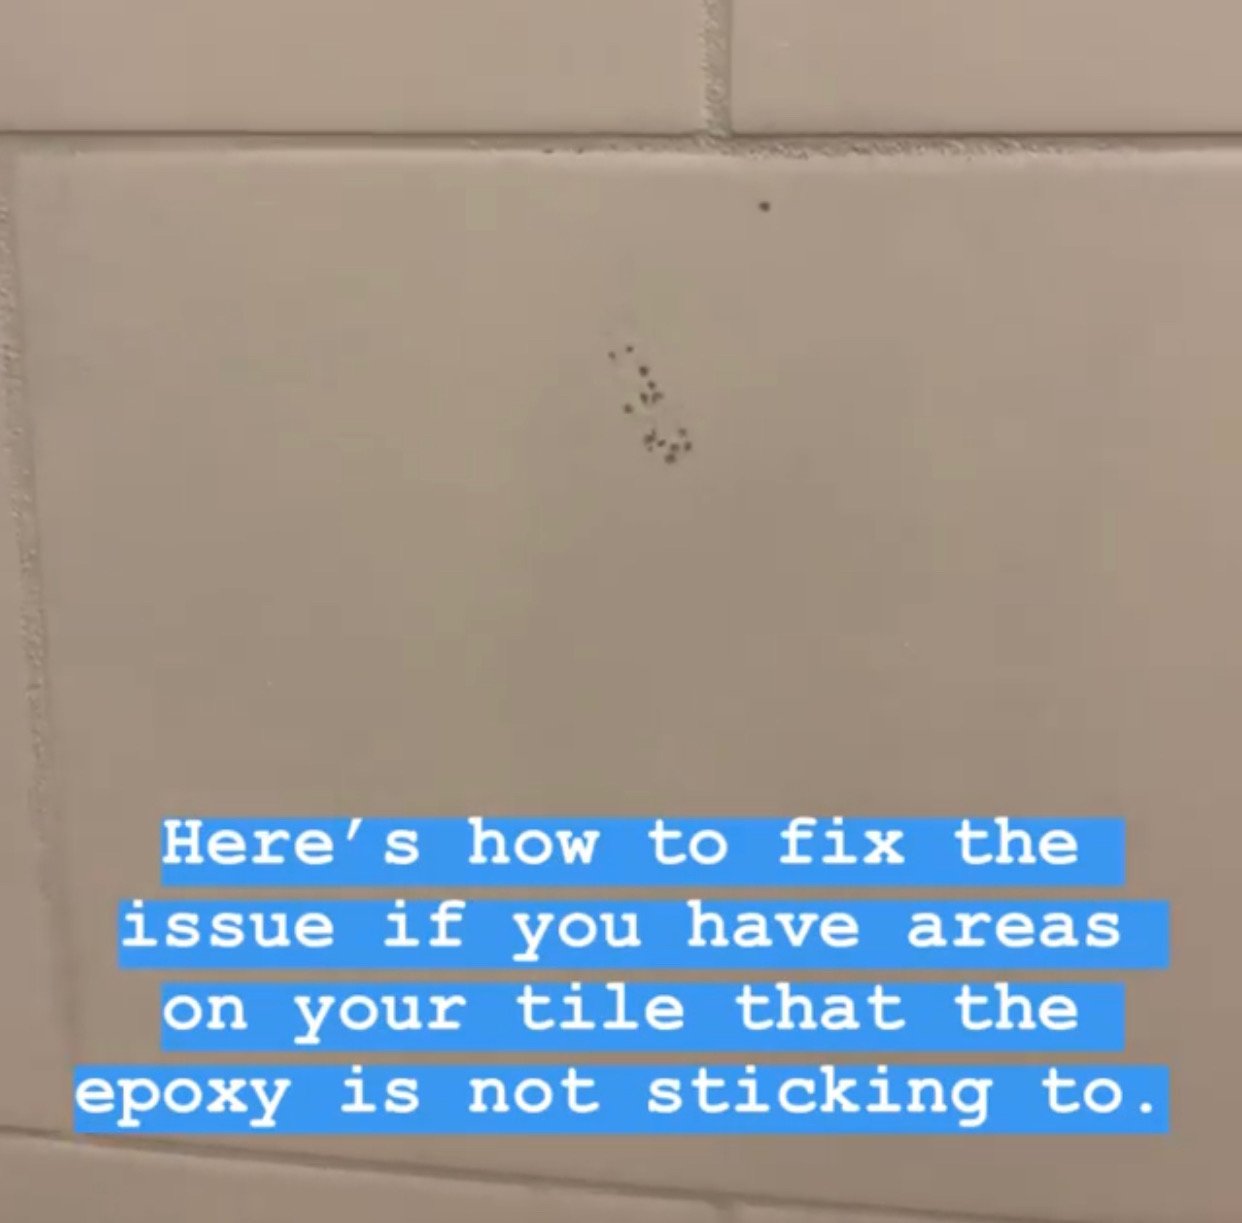
Caulk (if epoxy does not stick in certain spots)
Highly Recommended: Mask or Air Purifier to help with fumes.
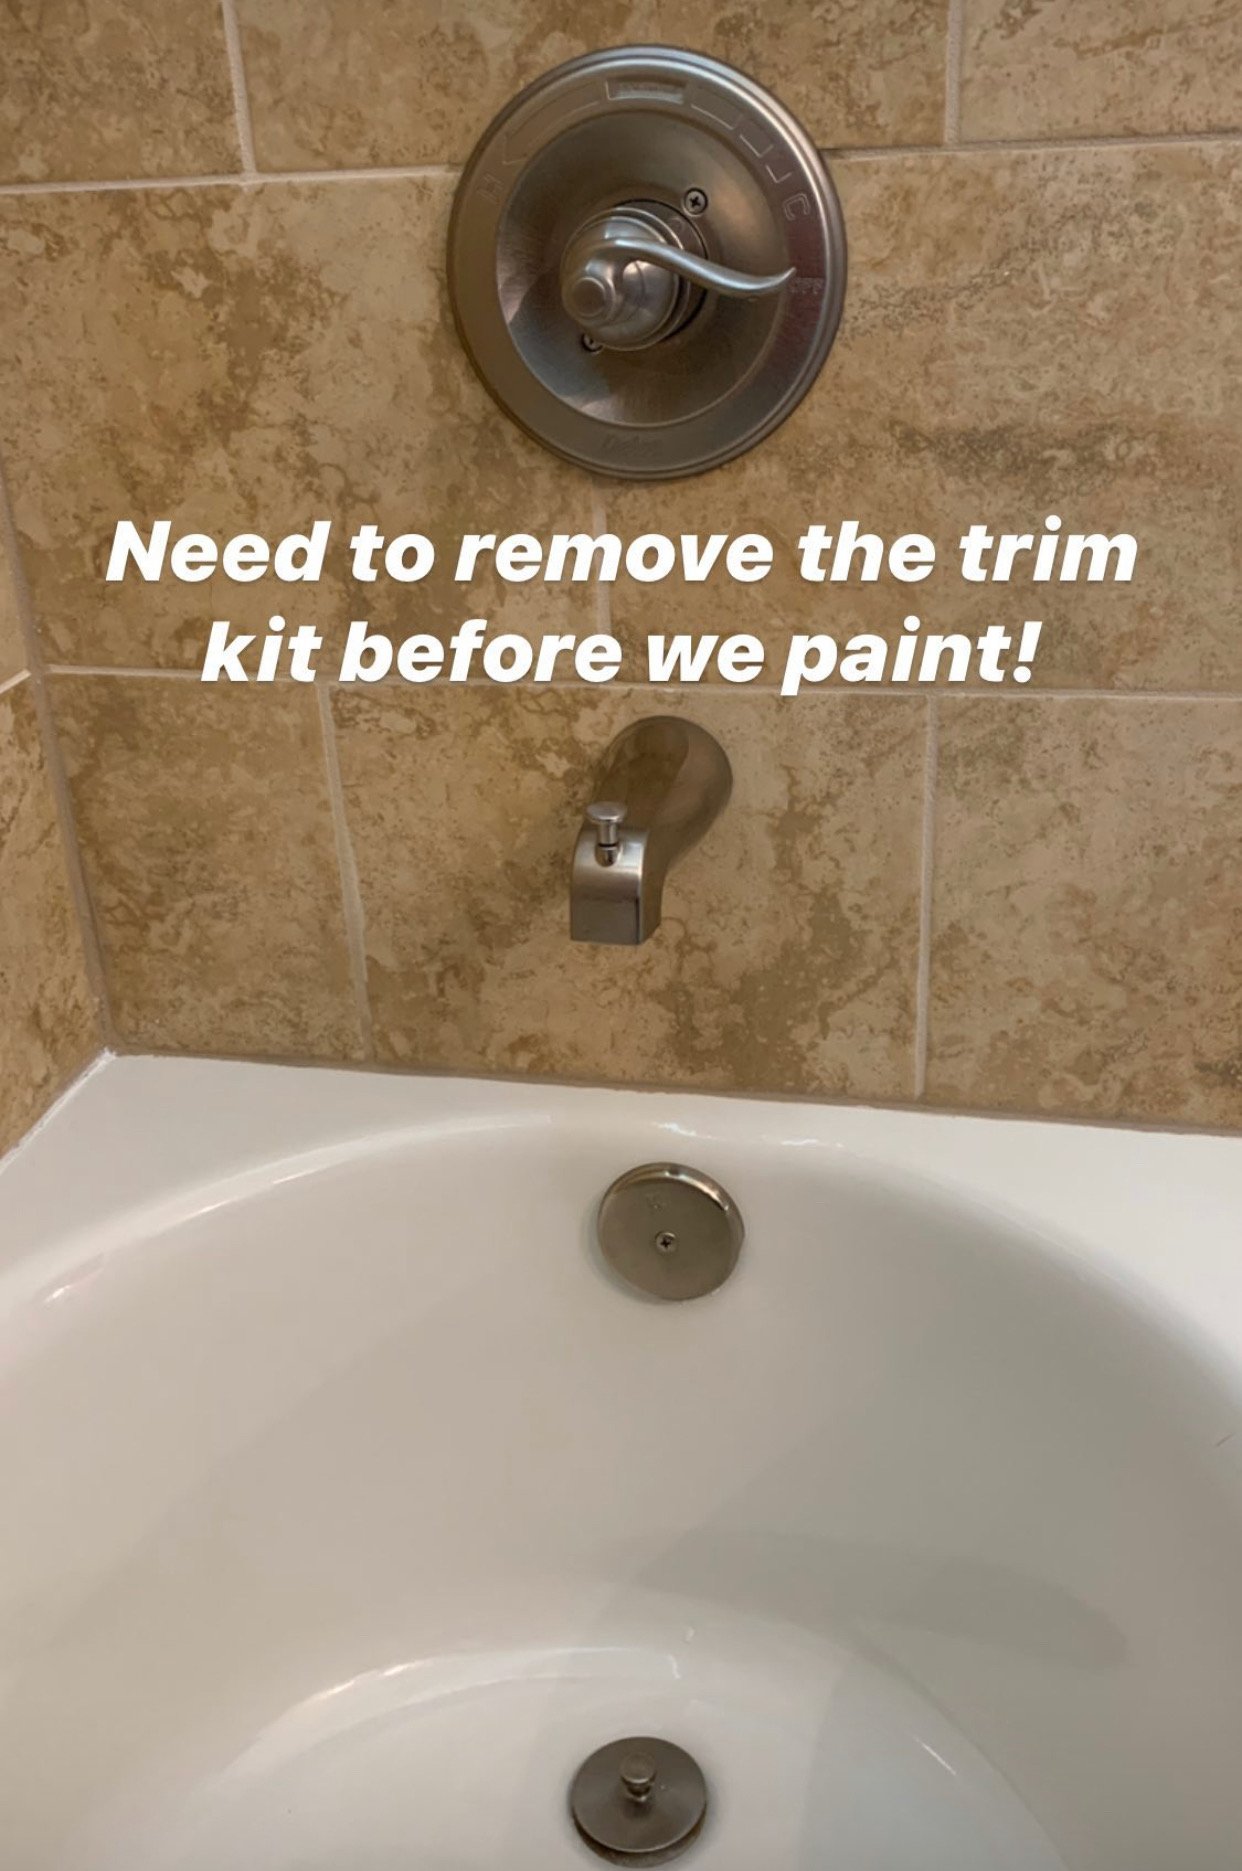
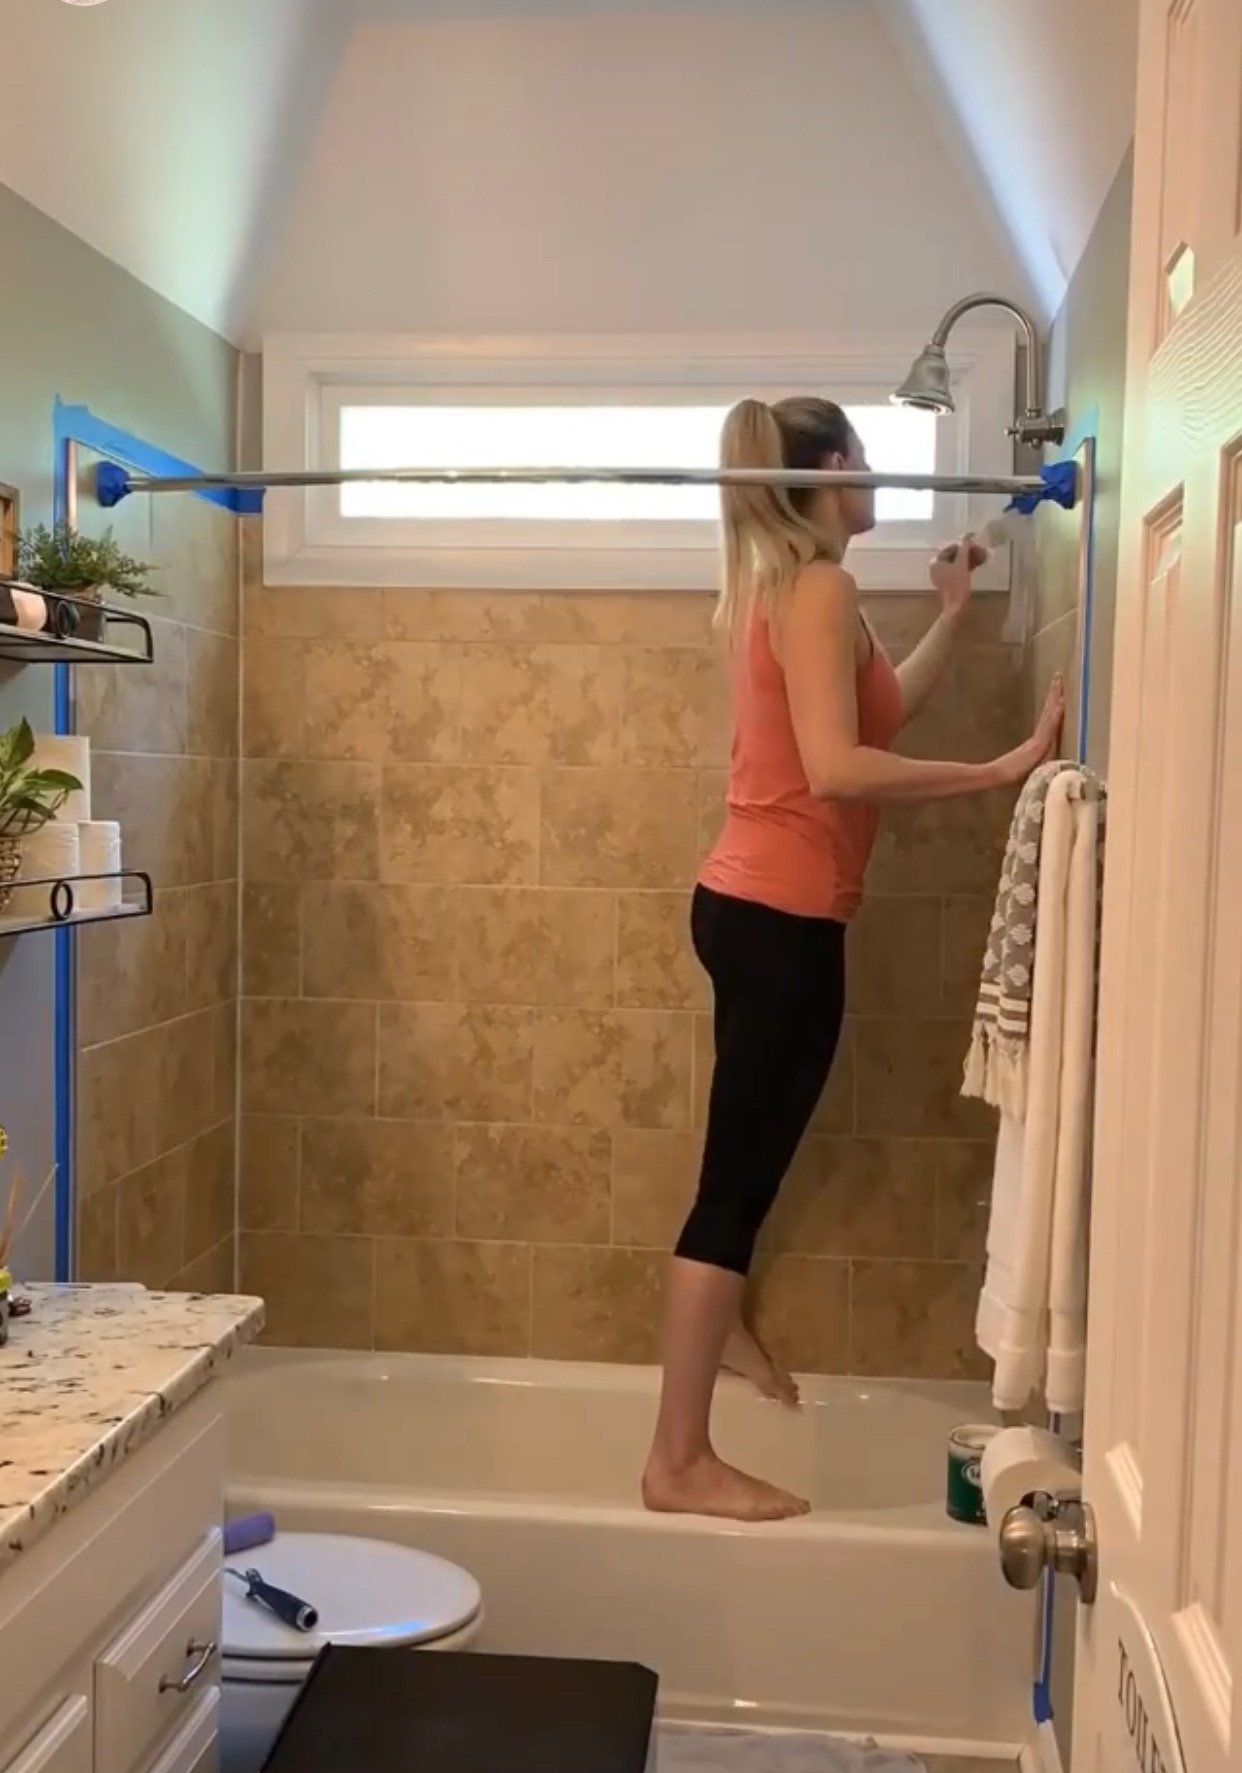
THE BEFORE:

THE PROCESS:
Before you begin, Read all instructions on the box. Clean your shower with Comet and lightly sand to ensure the product bonds well to the tile. This will also create a smooth paint application.
It's important to remove the trim and the plumbing fixtures before doing anything else! Since the tile will be painted, the faucet and other fixtures need to be dissembled before paint is applied. This part was pretty simple for me to handle on my own, though Kyle was there to supervise!
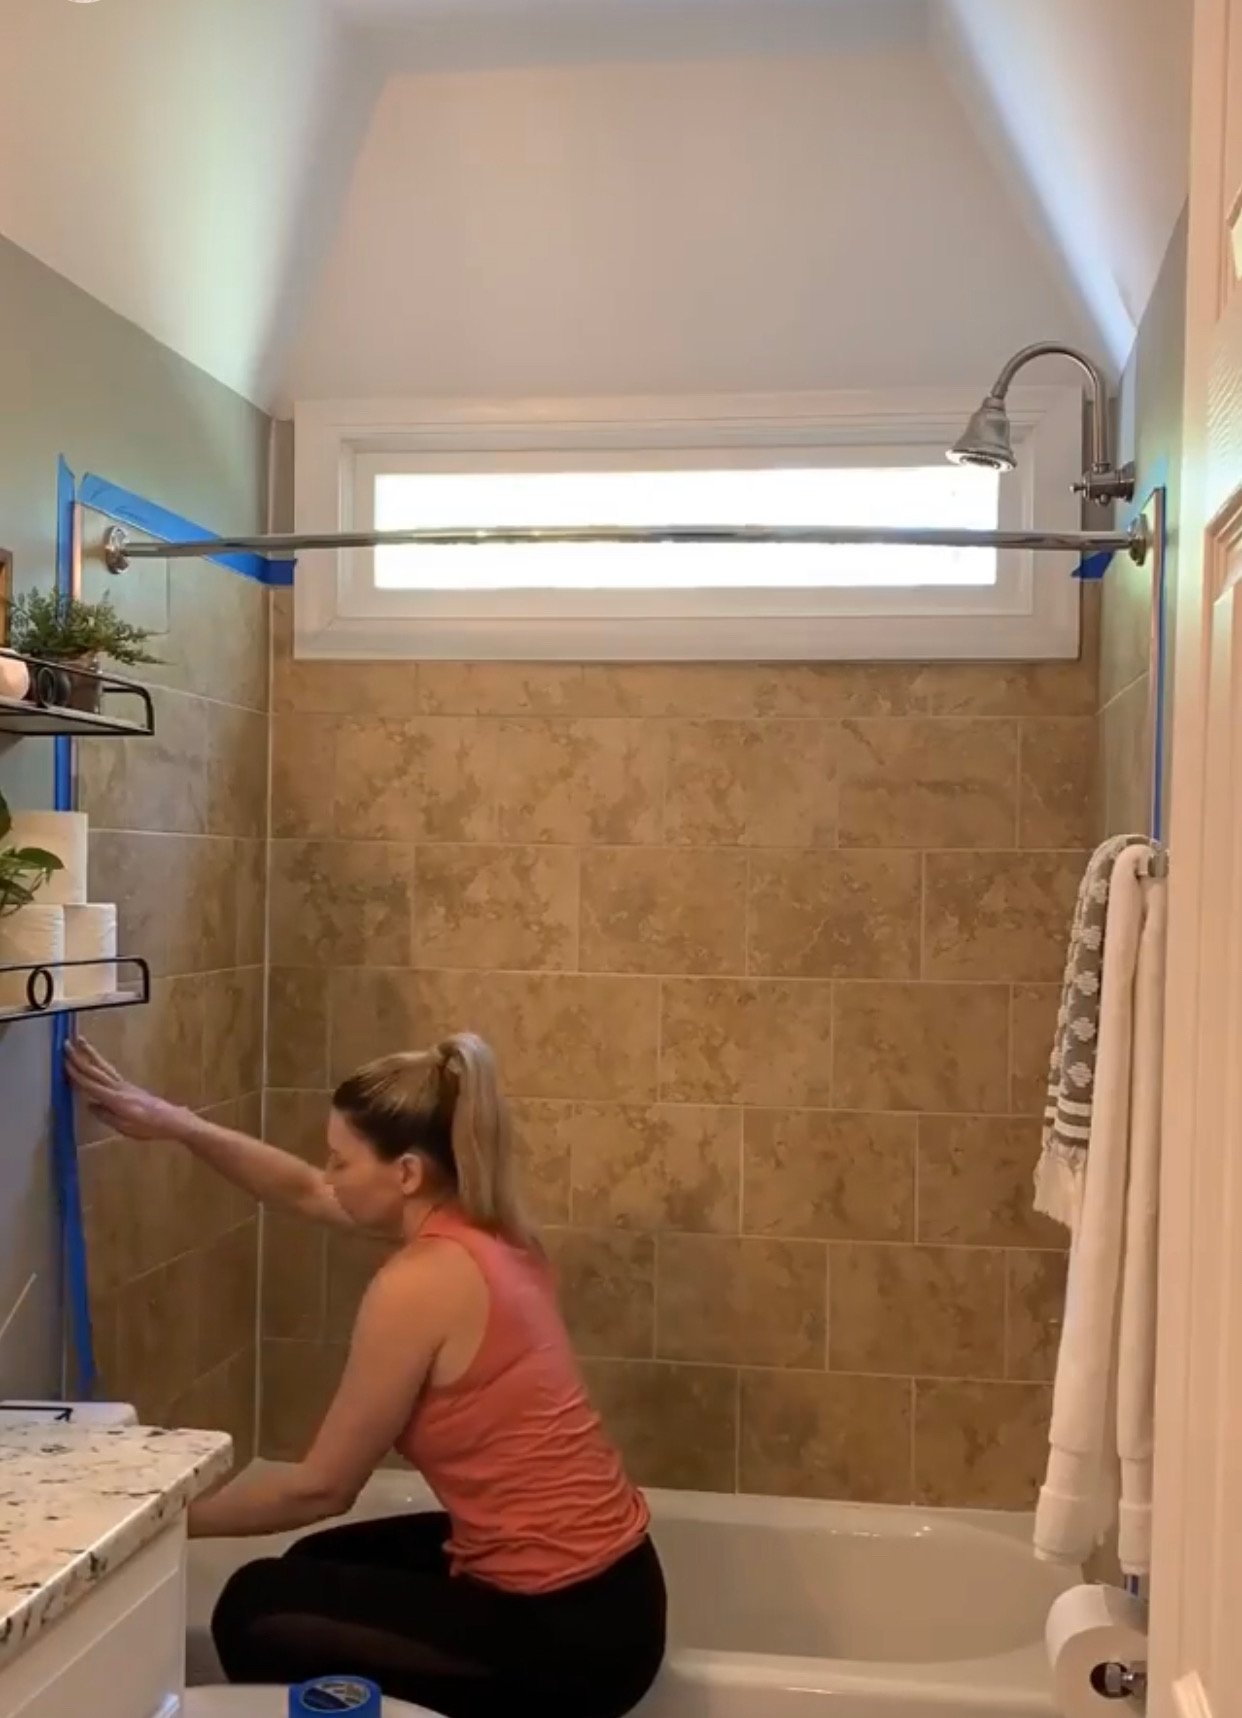
Next, tape off the edges of the shower with painter's tape. If you are unable to remove your shower curtain, be sure to tape that too!
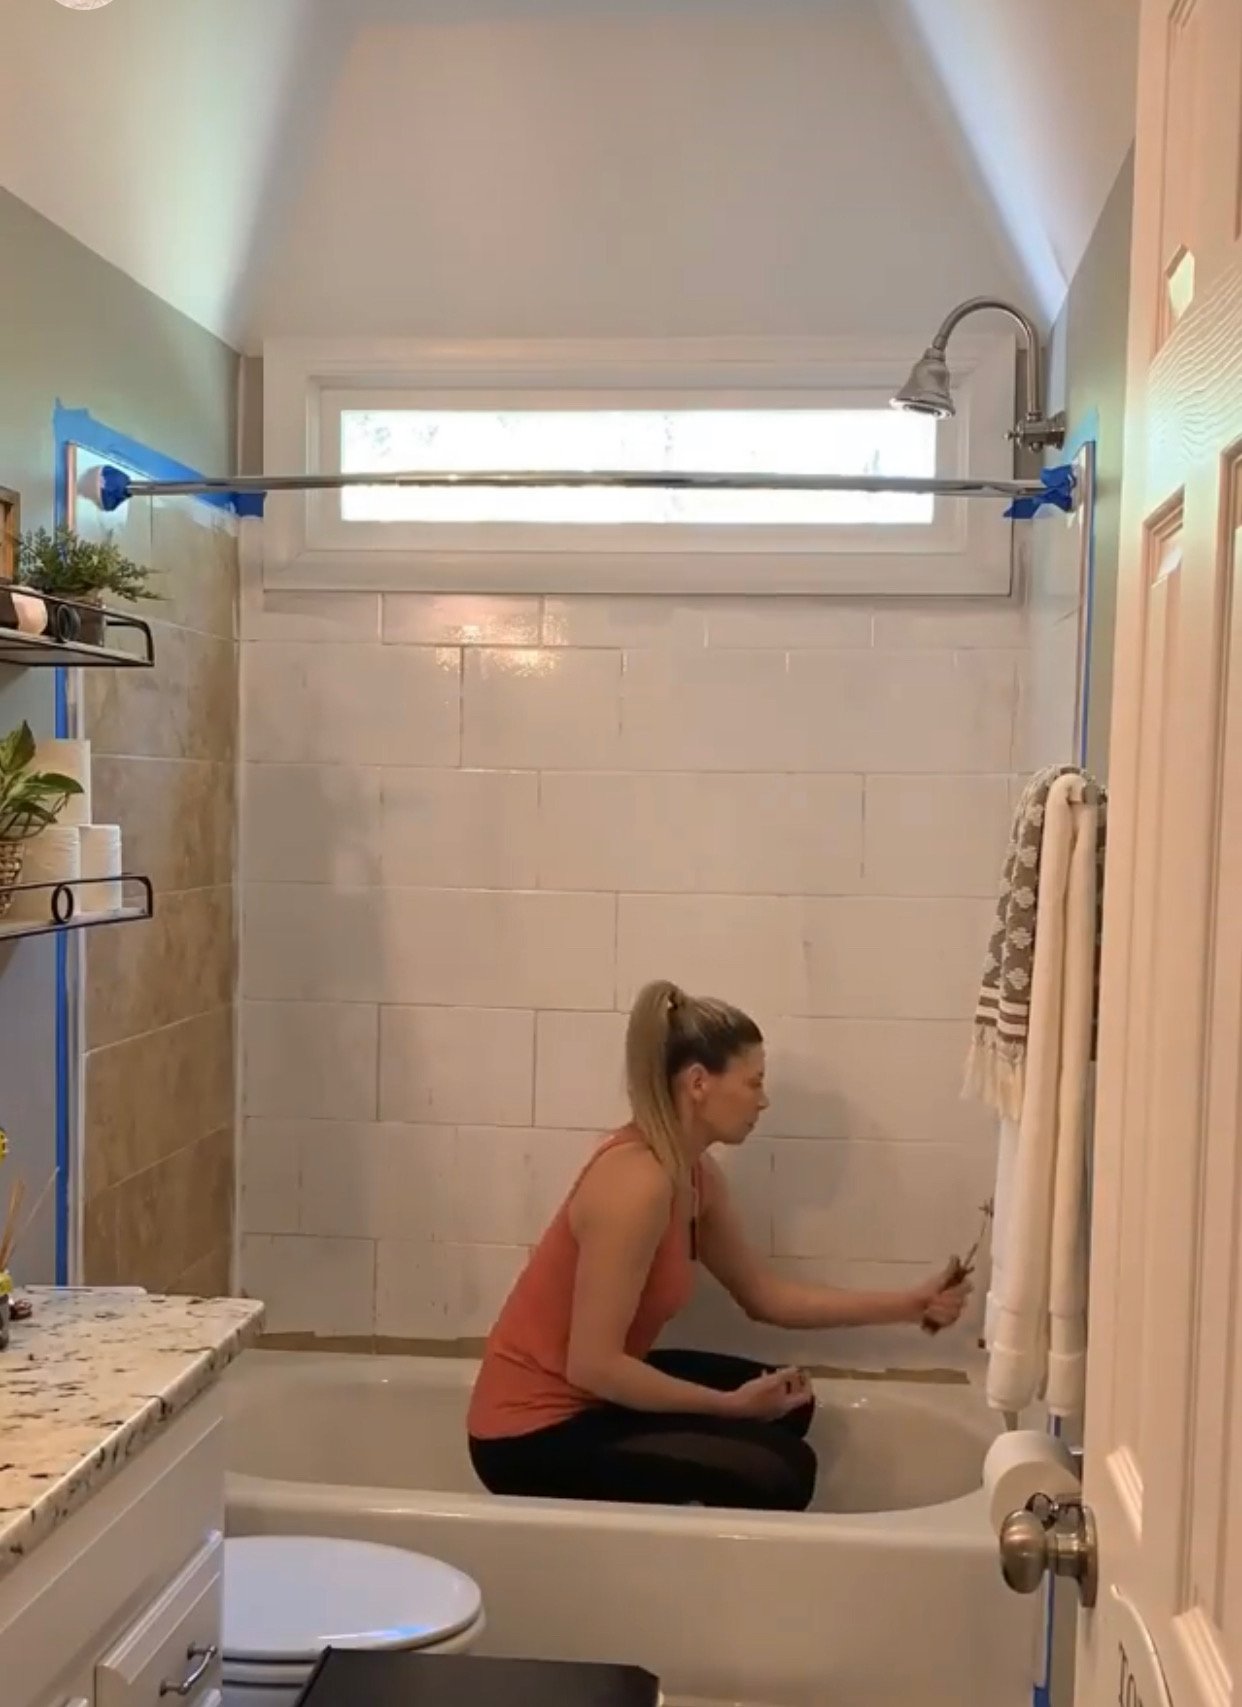
Then it's time to cut in the edges with a brush before rolling on the paint! We used Rustoleum Tub and Tile Epoxy Acrylic Formula as our paint! 3 total coats are to be applied, however, let the paint dry for several hours between coats. The paint needs to cure for at least 48 hours before the shower can be used again.
Mask or air filter highly recommend for the fumes (follow all instructions on the box).
If your tile dries and there's a spot where the epoxy is not sticking, rub a small amount of caulk over the spot and let dry. Once dry, apply another coat of paint and it should stick! See picture below for reference.
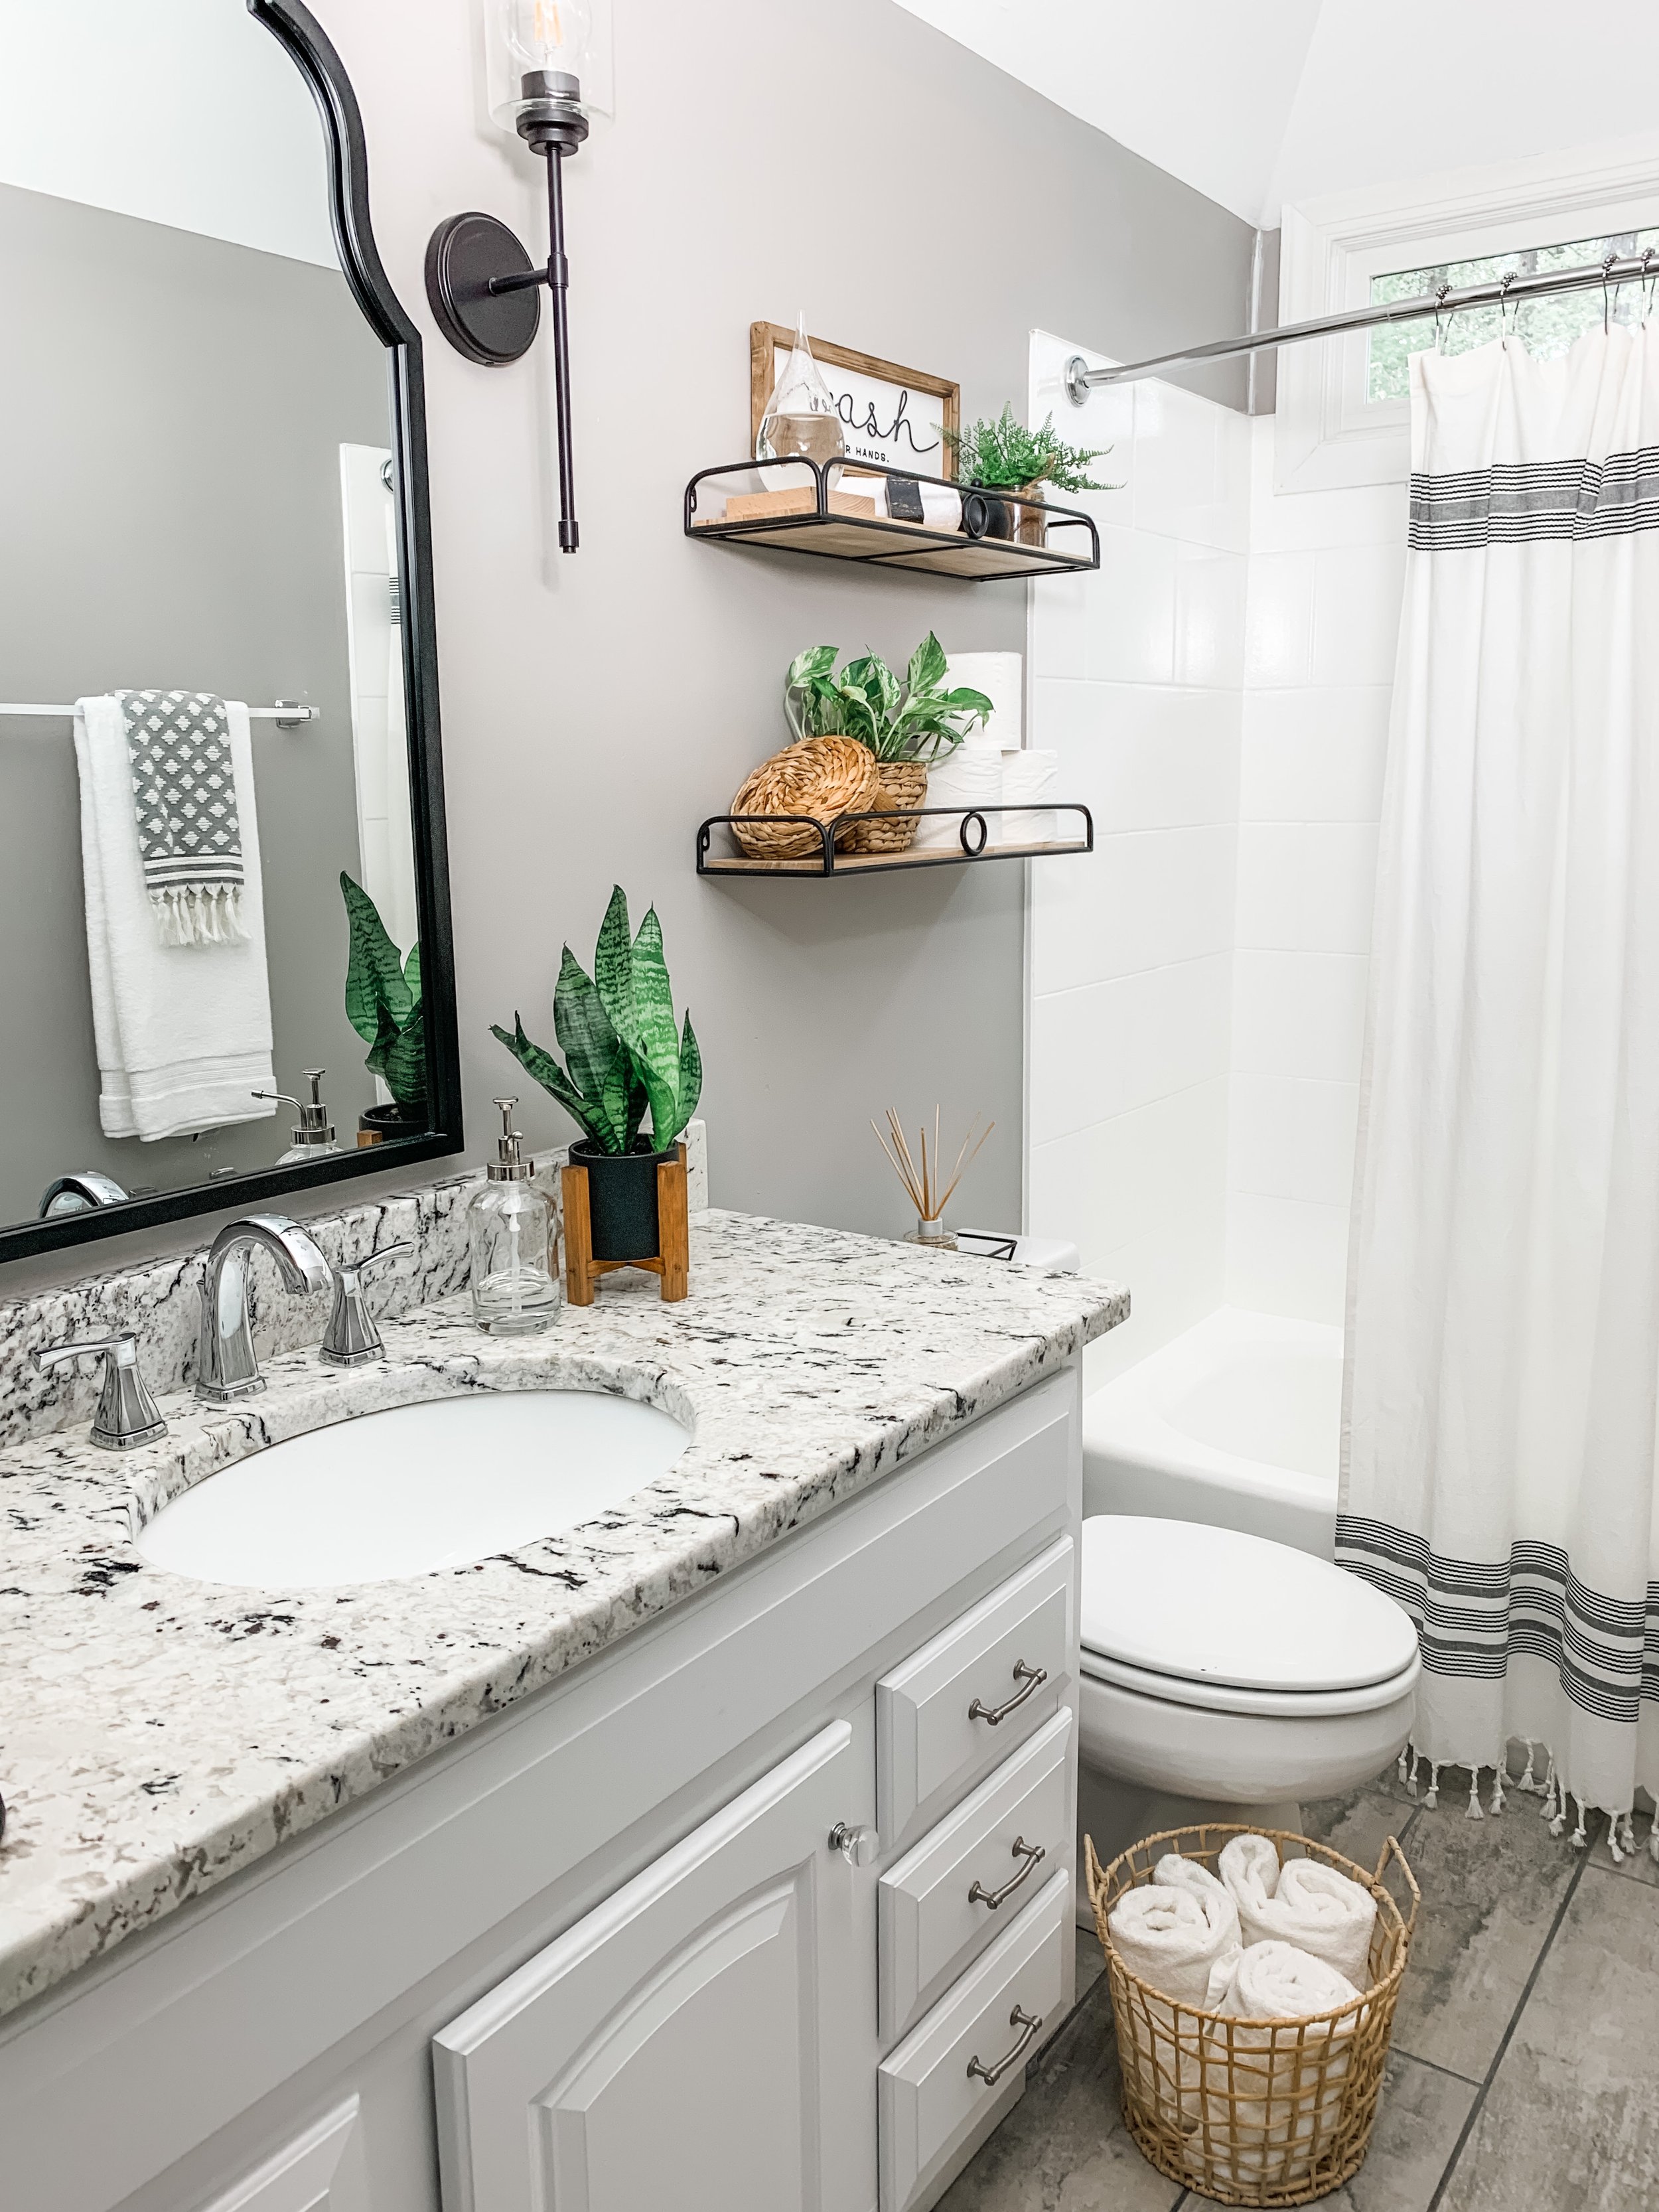
THE AFTER: